
Key takeaways
- DTF printing transfers designs from a printed film onto fabric using adhesive powder and heat.
- It works on cotton, polyester, blends, and many other fabric types.
- High-quality file preparation directly impacts print sharpness and durability.
- Proper powder application and curing are essential for strong adhesion.
- Pre-pressing garments helps prevent moisture-related bonding issues.
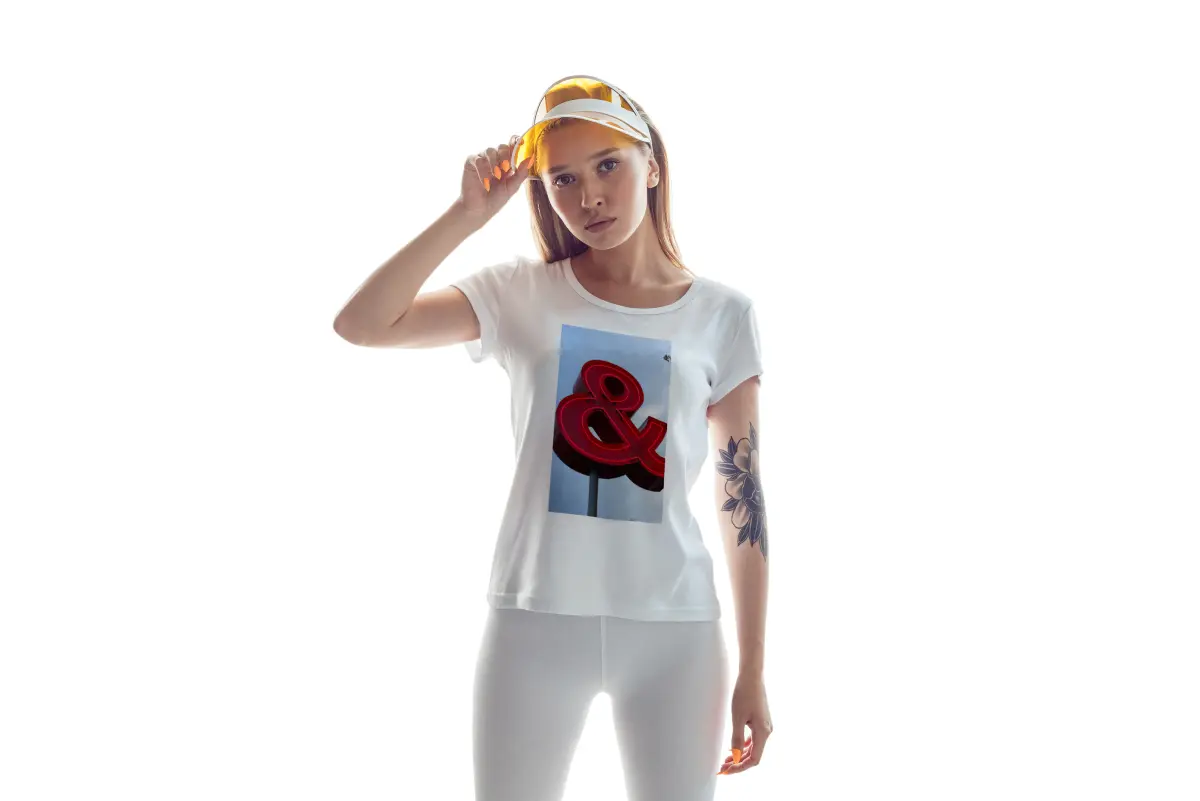
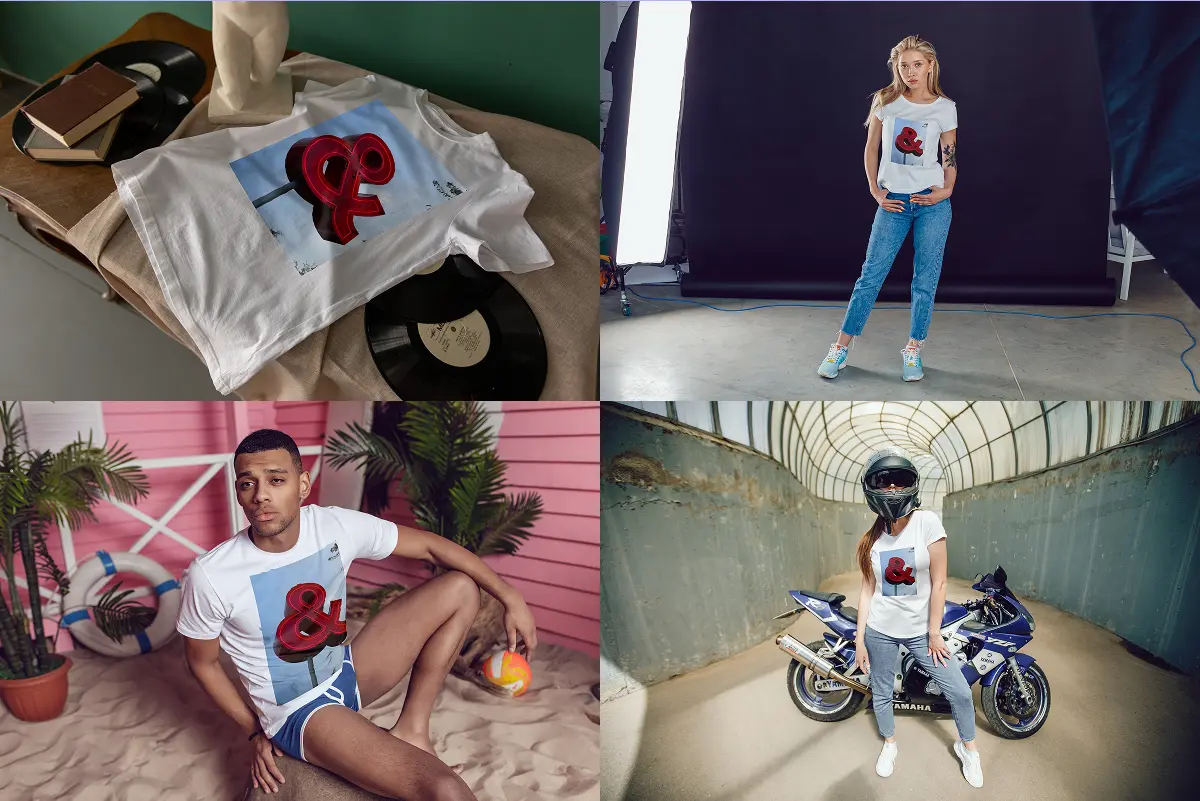
- DTF excels at producing vibrant, full-color designs on both light and dark garments.
- Compared to screen printing, DTF is better suited for small runs and personalized orders.
- Unlike DTG, DTF offers greater flexibility across different fabric materials.
- Regular white ink maintenance is necessary to avoid printhead clogging and downtime.
- Standardizing your workflow improves print consistency and reduces costly mistakes.
DTF (Direct to film) printing has grown fast because it solves a real production problem. It lets you print detailed, vibrant designs on a wide range of fabrics, including cotton, without bleeding or limiting your color palette.
But the speed and flexibility come with tradeoffs. DTF is less forgiving than it looks. Most quality issues trace back to a few controllable variables: design prep, curing, press technique, and material compatibility.
That’s why this comprehensive guide answers all the questions related to DTF, and you will learn:
When DTF is the right method to adopt and when it’s not.
How to prep files to keep your transfer press clean and sharp.
Which fabrics work best with this method, and which might be a little too risky?
You would also explore the most common DTF issues and mistakes.
DTF is powerful because of its flexibility, but real success comes only when you focus on the workflow, not just by chasing perfect settings.
What is DTF (Direct-to-film) printing?
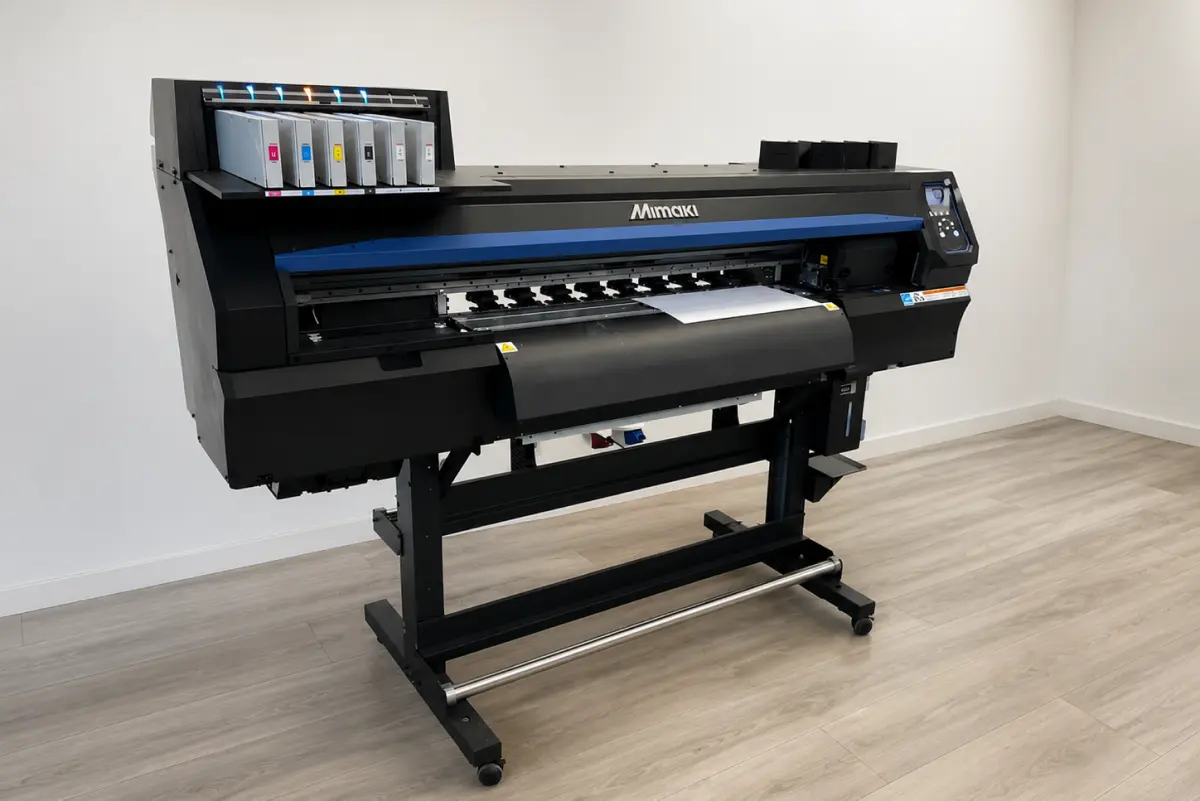
The direct-to-film printing method involves printing a design onto transfer film, coating it with a hot-melt adhesive powder, curing it, and then heat-pressing the transfer onto the fabric. The simplest way to say:
DTF printing methods first print directly onto a film, then transfer the image to the fabric.
DTF printing has become popular among business owners for real-world production, as it provides full-color, detailed prints on a wide range of fabrics. Even in cotton and blends, you can print without building screens or cutting vinyl. This is why DTF is a practical choice when you are fulfilling small runs and mixed orders, personalized products, or frequent design changes.
And what DTF printing method is not? It’s not like Sublimation, which dyes the fabric and is limited to one printing method, but it can be printed on almost any fabric with zero bleed.
How Does DTF Printing Work?
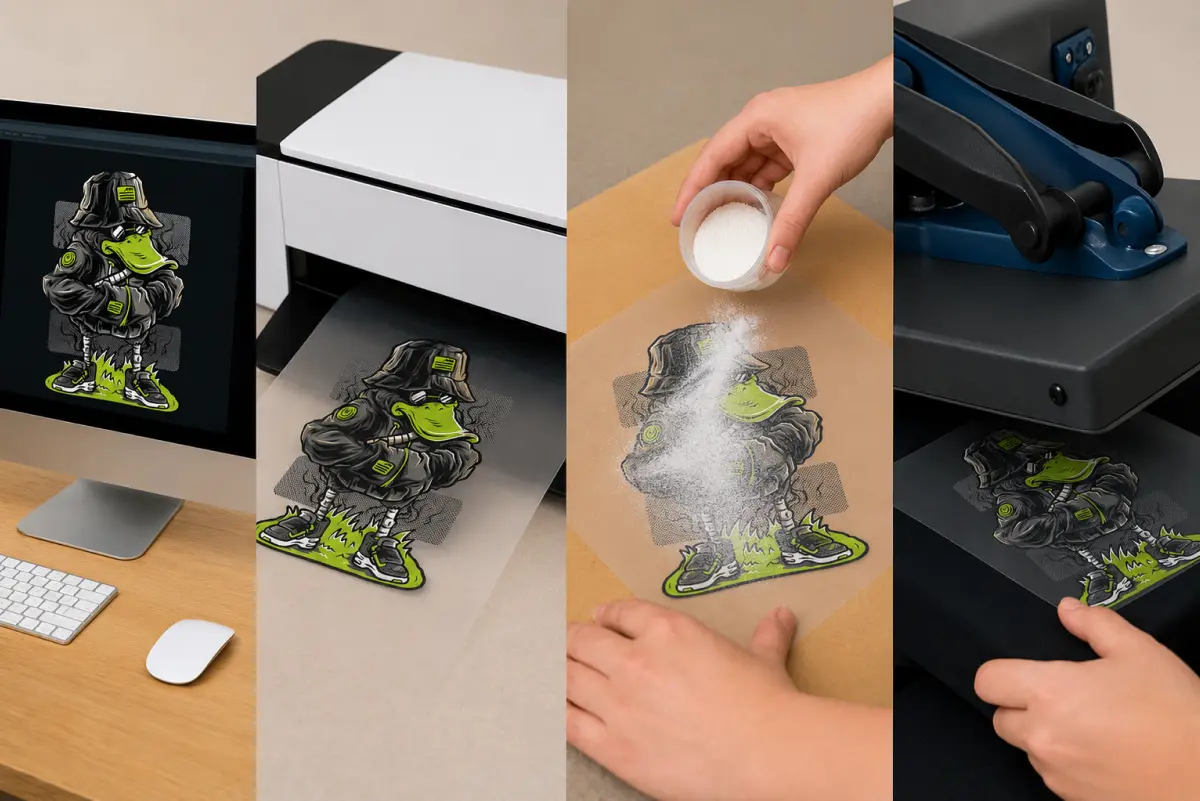
As we already know, DTF works by printing your designs onto a special transfer sheet and then transferring them into the fabric. But as smooth as the process sounds, there are many more steps involved in printing. Here’s a step-by-step guide to how DTF printing works:
Step 1: Start with a Pressable Design
Before you print anything, make sure your designs are perfect. This affects edge quality, durability, and how clean the transfer feels on the fabric. To check if your designs are actually printable, see if they have a transparent background, have enough resolution for the final size, and avoid ultra-thin negative spaces and hairline strokes when the design will be pressed onto textured fabric.
This matters because DTF can hold details really well, but the transfer still needs a clean edge and enough pixel density to look sharp after pressing.
Step 2: Print the Design on DTF Film
After you have confirmed your design is ready to print, you can proceed to transfer it to the DTF film. It is best to print onto DTF transfer film rather than directly on the fabric. DTF typically prints color plus a white layer. That white layer is what helps designs pop on darker garments, making DTF one of the most versatile methods.
However, when printing on DTF film, treat it as a production material to keep it clean and dry. Dust and oil can show up later if not properly addressed.
Step 3: Apply Hot Melt Adhesive Powder
Right after printing the design on the DTF sheet, coat the printed area with hot-melt adhesive powder. This powder is what actually bonds the design to the fabric during pressing. Apply an even coat of ink and tap off the excess powder so the sheet is evenly coated. Uneven powder would mean uneven adhesion. That is where you can end up with edge lift, patchy bonding, or durability complaints later on. A very simple step, yet crucial for avoiding all sorts of issues.
Step 4: Cure the Powder
Curing melts the powder into a smooth, adhesive layer that fuses with the ink, making the sheet press-ready. Two common curing approaches are oven curing and heat-press curing. These approaches are very different: oven curing would give you greater consistency, while the press-hover cure is commonly used by many smaller shops.
The powder transitions from a loose, grainy look to a more melted, even adhesive layer. This step is non-negotiable in DFT printing; if the curing is underdone, the transfer can fail, peel, crack, or even create weak bonding after the first wash.
Step 5: Prep the Garment
Some business owners try to skip this step and then wonder why their results aren’t as expected. To ensure consistent results, briefly press the garment to flatten fibers and release moisture. Then lint-roll, if needed, especially on fleece, hoodies, and textured cotton. This matters a lot because the moisture and texture are enemies of consistent adhesion. Pre-pressing gives you a stable surface so the transfer bonds evenly.
Step 6: Position the Transfer and Heat Press
Place the cured transfer film on the garment exactly where it needs to land. Use alignment tools and heat-resistant tape if your setup tends to shift. This way, any movement during opening or closing can cause misalignment or edge distortion, which is a risk.
When the placement is perfect, press the transfer to bond the adhesive into the fabric. This is where DTF goes from printed film to finished product. Consistent temperature, repeatable pressure, and a clean pressing surface matter a lot when you are making the final product.
Step 7: Peel and Post-press to Finish
After pressing, peel the film using the method it is designed for. For hot peel, peel the film shortly after pressing, and for cold peel, wait for the transfer to cool before peeling. Many shops do a quick finishing press after peeling, using a protective sheet to make the print long-lasting. It improves adhesion, smooths the finish, and helps you reduce that raised-edge look on some fabrics.
What Are the Advantages of DTF Printing?
We have already discussed a few advantages of DTF, such as vibrant print, repeatability, and full-color capability, but there are many more. Let’s see some of those:
1. DTF can be used on a Wide Range of Fabrics
One of the biggest strengths of DTF is the material flexibility. Unlike sublimation, DTF can be applied to natural fibers and synthetics, including cotton and many blends. This is why you would not be boxed into one product category.
With this advantage, you can build various product catalogs and cater to various types of customers, instead of forcing customers to buy what you already have.
2. Prints Look Super Good on Dark Garments
DTF commonly uses a white ink layer under the design. The underbase gives you opacity, so the color can pop on black and dark-colored fabrics, and you are not limited to white fabric.
So, by using DTF, you can sell the same design in various fabric colors, whether light or dark, without changing the design.
3. Full-color Detail Without Color Limits
DTF’s other strongest aspect is its color payoff. When you want complex designs like grading, shading, fine details, and photo-like artwork, DTF can handle it all. You get perfectly printed fabrics without any color separation, like other printing methods. If your product line features frequent design changes, DTF’s full-color flexibility can reduce friction.
4. Low Setup Burden
DTF has a one-time setup burden and is friendly for one-off orders, names, numbers, and frequent design changes. Each transfer can be produced for each order without extensive prep work. This means you can start low and progress as your customer base extends. If you run a personalized product business or have a small one, DTF would be perfect.
5. Consistent Results When Standardized
Prints on DTF can be very consistent when your variables are controlled. By managing the film and powder types, cure quality, press conditions, and peel method, you will get perfect results every time. Most DTF problems come from inconsistency and not maintaining a standard workflow. To ensure you get the exact results every time, you can write down your store's standard and use it accurately.
What Are the Disadvantages of DTF Printing?
It’s true that DTF is very powerful, but it also has trade-offs. For business owners, these trade-offs might translate to extra costs, extra time, or extra risk. So you need to know the disadvantages of DTF printing before you start printing on it:
It’s a multi-step prep process: DTF is not just a print-and-press. You are printing on film, applying powder, curing, pressing, and peeling, which often ends with a post-press. Each of these steps needs to be done with meticulous precision to avoid any mishaps. A slight mistake in any of these steps can lead to edge lifting, misalignment, or under-curing. When you are running a personalized business or a POD business, every reprint means extra money and time that can cost you customers' trust.
Powder and curing safety requirements: DTF uses hot-melt adhesive powder and a curing step that can generate fumes and airborne particles. You cannot skip any of these methods while getting the printing done. Using these sensitive elements releases fumes and airborne particles. This is exactly why you need a serious step and a ventilation system.
Ongoing maintenance is real: DTF systems commonly rely on white ink, and white ink is notorious in inkjet-based workflows for being high-pigment and more prone to settling/clogging if you don’t maintain it. Practically, this means more daily discipline: circulation, cleaning routines, and printing often enough to keep things healthy.
Transfers need proper storage and handling: DTF transfers are sensitive to moisture, dust, and physical damage (bending/creasing). If you print transfers ahead of time or you ship transfers to customers, storage becomes part of your quality system. Poor storage can lead to adhesion problems, edge lifting, or inconsistent results that seem like “press issues,” even when the press is fine.
How Do I Prepare Design Files for DTF Printing?
 DTF file prep is all about making sure what you print is clean, sharp, and press-ready. So you don’t have to reprint and invest in fixing issues. Here’s how you can prepare design files for DTF printing:
Use a transparent background: DTF transfers are usually pressed as the printed shape; having a transparent background would prevent ugly box prints.
Export at the final print size: Scaling up low-res art creates soft edges and twisted detail. Build the file at the exact inches you plan to press.
Keep resolution high for detail: As a practical rule, aim for high-resolution artwork at the final size so that small text and edges stay crisp. This would mean your designs would appear sharp and exactly as the customer wanted.
Use clean edges and avoid tiny “hairline” details: Super-thin lines, tiny holes, and micro-text can fill in or look rough after pressing, especially on textured fabrics like fleece. So try your best to avoid such fine details and stick with a minimum design-detail size.
Convert text to outlines: This prevents font substitutions that can change spacing, alignment, or readability.
Stay consistent with color settings: Use a consistent workflow for profiles and exports so colors don’t shift between your screen, your RIP, and the final print.
What Fabrics Work Best with DTF Printing?
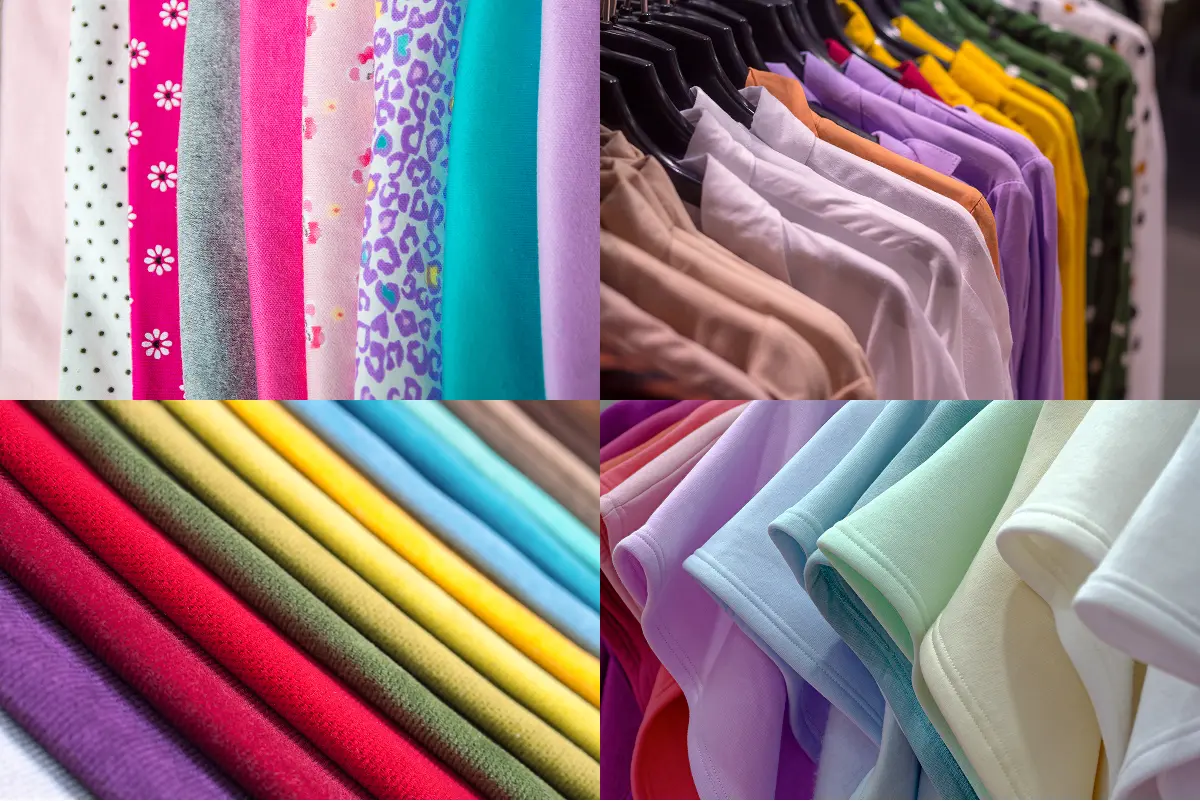 DTF is popular because it works well with many fabrics, but “works on” and “works best on” aren’t the same. If you want consistent presses, clean edges, and fewer customer complaints, these fabric categories usually deliver the best results.
Cotton
Cotton is one of the best materials for DTF because it provides a stable surface and a predictable bond. On smoother cotton shirts, the transfer sits cleanly, fine details hold up better, and you’re less likely to fight texture-related issues. If your business sells basics such as graphic tees, merch drops, streetwear, then cotton is typically where DTF feels the most “plug and play.”
Cotton-poly blends
Blends are great because you get the comfort and look people want, with a surface that tends to press consistently. In production, blends often behave more predictably than some specialty fabrics because they don’t have extreme stretch, heavy texture, or coatings that interfere with adhesion. This is why DTF prints sit the best in this material. If you want one category you can scale with fewer surprises, blends are usually the way to go.
Polyester
DTF works very well on polyester, especially when the garment's surface is smooth, and you’re pressing with the right heat and pressure. Polyester is common in athletic wear and uniforms, and DTF is often chosen because it delivers bold color and detail without requiring complicated prep. The main thing to watch is heat sensitivity: some polyester fabrics don’t love high temperatures, so controlling your press settings is key.
Fleece, hoodies, and textured fabrics
DTF can absolutely be used on hoodies and fleece, but these fabrics are more textured and sometimes fuzzier, which means the transfer has more “surface variation” to deal with. Issues like edge lifting or rough-looking detail often show up here first. The fix usually isn’t changing the method; rather, it's about making sure you pre-press, keep the surface clean, and use solid placement and pressure.
DTF vs Other Printing Methods
If you’re sorting through Popular printing types for custom apparel, it can get messy fast because each method has its own process. Below are comparisons of the most popular printing methods:
DTF Vs Screen Printing
Screen printing is still a production workhorse, but it’s built around setup and repeatability. DTF is built around flexibility and full-color artwork, with no complex setup. Here is a detailed comparison between the two printing methods:
| Factor |
DTF Printing |
Screen Printing |
| Best fit for order size |
Small to mid runs, lots of design changes |
Mid to large runs, repeat designs |
| Setup effort |
Moderate (print film, powder, cure) |
Higher (screens, setup, separations) |
| Full-color / gradients |
Very strong (photo-style designs are common) |
Possible, but more complex/expensive (depends on approach) |
| Durability expectation |
Strong when processed correctly; can vary by workflow |
Often considered a durability benchmark for long-run wear |
| Print feel |
Can feel slightly heavier on large designs |
Varies by ink and method; can be smooth or thicker |
| Operational risk |
More variables (powder/cure/press consistency) |
Fewer variables once dialed in, but setup errors are costly |
DTF Vs DTG Printing
DTG and DTF both serve modern custom apparel, but they behave differently in production: one prints directly onto the garment, while the other creates a transfer first. The biggest business differences usually come down to “finish expectations,” fabric mix, and how consistent you need results to be across product types.
Here are all the differences between DTF and DTG:
| Factor |
DTF Printing |
DTG Printing |
| How it’s applied |
Printed on film, then heat-pressed |
Printed directly onto the garment |
| Best fabric comfort zone |
Broad: cotton, blends, polyester (depends on setup) |
Strongest on cotton; performance varies more on some blends |
| Print feel |
Transfer sits on top; can feel more “present” on fabric |
Often, a softer feel on cotton because the ink absorbs into the fibers |
| Production flow |
Can batch transfers, press later (workflow flexibility) |
Print-per-garment workflow; less “transfer inventory” style |
| Maintenance reality |
Film/powder/cure + press consistency |
Pretreatment + printhead/ink maintenance; consistency depends on process |
| Best business fit |
Mixed fabric catalogs, personalization-heavy shops |
Cotton-focused brands prioritizing soft hand-feel |
DTF Vs Sublimation Printing
This comparison is usually easiest once you understand the core technical difference: sublimation dyes become part of the polyester (or polymer coating), whereas DTF is a film transfer that adheres to fabric. The business impact shows up immediately in what you can sell, what colors you can offer, and how dark garments behave. So you need to be very meticulous about your choice between the two. Here are all the major differences between these two methods:
| Factor |
DTF Printing |
Sublimation Printing |
| What it bonds to |
Adhesive transfer applied with heat |
Dye bonds into polyester fibers or polymer coatings |
| Best fabric match |
Cotton, blends, polyester (broad compatibility) |
Best on light/white polyester; not ideal for cotton |
| Dark garments |
Commonly workable due to the white ink layer |
Limited because the sublimation dye is transparent and needs a light base |
| Print feel |
Transfer layer on top of the fabric |
“No layer” feels as the dye becomes part of the material |
| Best product types |
Apparel across mixed fabrics |
Polyester apparel + coated hard goods (mugs, panels, etc.) |
| Operational gotcha |
Powder/cure/press consistency |
Polyester percentage + press control + blank quality |
How Can I Start a DTF Printing Business?
 Starting a DTF printing business is less about chasing a perfect machine and more about building a repeatable workflow you can run over and over. It also means creating a workflow without wasting film, ink, or garments. Here’s how you can start a DTF printing business:
Step 1: Pick Your Business Model First
Before you buy equipment, choose how you want to operate:
Transfers-only business: you print DTF transfers and ship them to other shops or customers.
Apparel and fulfillment business: you print transfers and press garments for end buyers.
Hybrid: you do both.
You need to sort this out before the purchase because your equipment, space, and pricing structure change depending on whether you’re shipping transfers or finishing garments in-house.
Step 2: Set Your Production Materials
At a minimum, you’ll need:
A DTF-capable printer with CMYK and white ink workflow.
DTF film, DTF inks, and hot-melt adhesive powder.
A curing solution can be an oven, a dryer, or a controlled curing workflow.
A reliable heat press.
RIP software to manage print output and white layers
If you’re planning to increase volume, many shops move toward a powder-shaker-and-dryer setup for speed and consistency.
Note: If you're starting a Shopify store, you must get a product personalization app to simplify the customization process in your store (more on that below 👇).
Step 3: Keep a Routine Cleaning Setup
DTF isn’t a set-it-on-any-table operation once you’re doing it daily. Powder handling and curing can create airborne particles and odors, so you want a setup that supports safe, repeatable work, especially if you’re operating in a small room.
Safety data sheets for DTF adhesive powder also emphasize handling precautions, which is a good reminder that this isn’t just any craft supply. To ensure safety:
Keep printing clean by sorting the powder and cure materials separately. So your workspace is not contaminated.
Plan for ventilation or filtration and a cleanup routine.
Step 4: Standardize Your Process
DTF businesses can lose money when every order is an experiment. Before you scale, lock down:
A short list of approved garments.
Your press settings per fabric category.
Your peeling method depends on the film you use.
A basic QC checklist (stretch test, edge check, quick wash test sample)
Printing material check before going for actual printing.
This will draw the line between messy and profit.
Tip: Live previews and print-ready JPG, PNG, SVG, and PDF files help reduce confusion, standardize orders, and support faster fulfillment.
Step 5: Price Your Products Accurately
DTF has real consumables: film, ink, powder, maintenance supplies, and failed test prints. If you don’t price with that in mind, you’ll get orders yet feel broke.
You can create a pricing range by keeping the aspects below in mind:
Base price.
Add-ons for extra placements (front, back, sleeve, etc.).
Rush fee (only if you can truly support it).
Tip: Pricing gets more complex once you add placements, sizes, and customization options, which is where a dedicated product personalization tool can save significant manual work.
Simplify DTF Product Personalization with InkyBay
InkyBay helps DTF shops simplify personalization by automating custom orders, pricing, and the generation of print-ready files.
Once your DTF production workflow is in place, the next bottleneck is usually the ordering process. Manual quotes, design approvals, and back-and-forth emails can slow down even a well-run shop.
With InkyBay, your customers can personalize products directly on your Shopify store by:
adding custom text
uploading logos, images, or artwork
previewing their design before checkout
For DTF businesses, this live preview is non-negotiable because customers can see how their full-color design will look before it goes into production. That helps reduce revisions and order mistakes.
InkyBay also automates pricing. You can set rules based on:
design size
print area
number of colors
added text or graphics
product size
quantity
print placement
Whether the order includes a front print, back print, or multiple print locations, pricing is calculated automatically. This saves time and keeps custom orders consistent. Also, the Custom printing area feature ensures that your customers place the artwork exactly where it should be. So later you can avoid any white areas or bleeding issues.
The platform also supports faster production by generating print-ready files such as SVG, PDF, PNG, and JPG as soon as an order is placed. That reduces manual file prep and helps move artwork into production more quickly.
InkyBay works with DTF, DTG, screen printing, sublimation, and embroidery, making it a good fit for shops that offer multiple decoration methods.
This comprehensive app integrates directly with Shopify and requires minimal setup. InkyBay is the easiest way to streamline the ordering experience once your production process is already running smoothly.
What Are The Common Mistakes I Should Avoid?
Whenever your DTF printing goes wrong, it is not just about the method; it’s because one part of the workflow drifted. For a business owner, each mistake means wasted garments and film, and slower delivery. To make sure you are not affecting your workflow and business, let’s see the common mistakes you should avoid:
Skipping garment pre-press: Moisture and wrinkles are silent quality killers. If the garment is holding moisture or the surface isn’t flat, the adhesive doesn’t bond evenly. That’s when you see lifting edges, patchy adhesion, or peeling after the first wash. A quick pre-press and a clean surface prevent many “random” failures that lead to expensive remakes.
Using too much powder:This is one of the most expensive beginner mistakes. Over-powdering can make transfers feel thick, messy on the edges, and more brittle, so instead of a clean, flexible print, you end up with a rough finish that customers notice right away. It also increases waste because the extra powder has to go somewhere.
Using too little powder: Under-powdering is tricky because the print might look okay coming off the press, but later fail with edges lifting, corners peeling, or small details breaking down. That’s dangerous for a business because it creates delays and causes refunds, replacements, and negative reviews after you thought the order was complete.
Under-curing the powder:Curing is the process that turns powder into a functional adhesive layer. If you under-cure, the adhesive doesn’t fully melt, resulting in weak bonding, peeling, or cracking. Under-curing leads to the worst kind of waste. As you don’t always see the failure immediately, you ship risk without realizing it.
Ignoring white-ink maintenance:White ink is essential for opacity, but it’s also a common source of downtime because it can settle and clog if maintenance and circulation aren’t consistent. Downtime isn’t just annoying; it delays orders, burns labor time, and can damage expensive components. If you’re fulfilling personalized orders with tight deadlines, this is one of the fastest ways to lose margin and trust.
Conclusion
DTF (Direct-to-Film) printing has become one of the most versatile apparel decoration methods because it delivers vibrant, full-color prints across a wide range of fabrics with minimal setup.
While it offers excellent flexibility for custom orders and small production runs, consistent results depend on proper file preparation, controlled curing, correct heat-press settings, and routine equipment maintenance.
By understanding its strengths, limitations, and best practices, you can decide whether DTF is the right printing method for your business and confidently produce durable, high-quality prints.
Frequently Asked Questions About DTF Printing
How durable are DTF prints?
DTF prints are highly durable when the transfer is properly prepared, cured, and heat-pressed. With correct application and care, they can withstand repeated washing without significant cracking or peeling.
Is DTF printing better than sublimation printing?
The best choice depends on the material and application. DTF is a better option for printing on cotton, blends, dark garments, and mixed fabrics, while sublimation performs best on light-colored polyester and polymer-coated products.
Is DTF printing eco-friendly?
DTF can reduce material waste compared to some traditional printing methods because it doesn't require screens. However, it still uses adhesive powder, transfer film, and specialized inks, so proper material handling and disposal remain important.
What are the pros of DTF printing?
DTF printing offers broad fabric compatibility, vibrant full-color prints, excellent performance on dark garments, low setup requirements for custom orders, and consistent results when the workflow is properly standardized.
What are the cons of DTF printing?
DTF involves multiple production steps, requires careful powder application and curing, needs regular white ink maintenance, and demands proper ventilation and storage practices to maintain print quality.


